I’ve always hated flashes. I don’t like them flashing in my eyes, I don’t like the washed out look they give to photos, the unnatural light, or the sight of dozens of them flashing at events.
I came to photography as a hobby through Astronomy—Star gazing with telescopes. Astrophotography, the art of taking pictures of planets and nebula using telescopes as camera lenses, is the ultimate form of low-light photography. In this extreme form of low-light photography, cameras are modified to remove on-chip infrared filters, they’re cooled with exotic chillers to reduce thermal noise (heat inside the camera from its own electronics), and computerized mounts rotate the camera and telescope so the shutter can remain open for hours while the world turns underneath the sky.
That’s all much harder than taking low-light photographs. Having knowledge of astrophotography methods has made it really easy for me to avoid using a flash in photography, so I thought I’d share some tips on how to do it well.
Low light photography is more complicated than point-and-shoot. You have to learn and practice it to get decent results, and doing a good job requires a DSLR. I use (and love) the Canon Rebel T2i, but any modern DSLR will do the job.
Taking low light pictures means setting the camera up to absorb more light for a particular photograph than it would during the day. There are three low light parameters you will set on your camera to accomplishing this: Aperture, Shutter speed, and ISO sensitivity. Each of them comes at a cost so finding the right balance for a particular setting is the skill you will learn over time. The information in this article will tell you exactly how to get close to good “point and shoot” settings that usually work to get you started in low light.
- Use a fast lens (f/2 or below) on its widest possible aperture setting.
- Use your highest acceptable ISO setting.
- Set your camera to Aperture priority.
- Stabilize your camera.
- Focus manually using Live Preview and a point source of light.
- Shoot in RAW format.
- Use Exposure Bracketing.
The practice is simple: Make your camera as sensitive as you can get good result, open your lens to its widest possible aperture, and then control the shutter speed to get the light level you want to use. You will almost always need a tripod to prevent camera movement while the shutter is open, and you will need to select subjects that are not moving relative to the camera. Shoot in RAW format, and use auto-exposure bracketing to take multiple shots with different exposures in rapid succession to be sure you get the right shot every time.
If you don’t already know how to accomplish these settings, get your manual out and refer to it as you read through these steps.
Use a fast lens on its widest possible aperture setting
Aperture is the size of the lens opening. Because it is measured as a ratio between the focal length and the size of the lens, lower numbers mean a wider opening. f/ratio of a lens is typically between 1.2 and 5.6. Wider openings let in more light “faster”, so “fast” lenses have low numbers. The fastest commercially available lenses have f/ratios of 1.2 and they are extremely expensive. Typical lenses start at f/ratios of 4.0, and a lens is officially “slow” beyond f/5.6.
For low light you need a fast lens—f/2.8 or below, preferably much lower. I use and recommend Canon’s 50mm f/1.8 lens that costs just $100. It has junky build quality, it’s noisy, and it lacks image stabilization, but the optics are fantastic and its 1/5th the price of any other lens this fast.
I’ve not found a zoom lens that performs well in low light. Even the best zooms don’t get below f/2.8. Look to a prime 50mm or 85mm for night portraiture, and a 28mm for night landscapes or large subjects like buildings.
Use your highest acceptable ISO setting
ISO refers to the imaging chip’s sensitivity to light. The higher the number, the more-light sensitive the chip becomes, and the more noise you will see in your picture. My camera goes up to ISO 6400, but 1600 is the practical maximum for a good-looking photo. Likely yours will be similar. Set ISO to your practical maximum, which you can determine by eye after taking the same shot at each different ISO and blowing it up to the size you intend to look at it. If you can’t tell that there’s additional noise, keep going to a higher ISO until you can, then go back to the previous ISO level. This doesn’t really change much from session to session, so once you know your camera’s best acceptable ISO level, you can just set it and forget it going forward.
I don’t recommend using Auto ISO in low light situations. The camera usually prefers lower ISO levels and longer shutter times, which tends to result in blur for any motion. With a decent DSLR, you’re better off increasing the ISO to reduce shutter time in most cases. Canon cameras have the lowest inherent noise of all DSLRs and astrophotographers prefer them for this reason, but all modern DSLRs are reasonably good.
Set your camera to Aperture Priority
Aperture priority tells the camera to fix the aperture at the setting you indicate and then vary the shutter to achieve the correct exposure. Essentially, it “locks” the aperture and varies the time to achieve good exposure. Set your camera to Aperture priority and then open the aperture to its widest setting.
Stabilize your camera
If the camera moves while the shutter is open, the entire image will be blurry and appear to be out of focus. This never looks good. When you take low light photographs, the shutter remains open much longer in order to capture enough light to record an image. Any movement that occurs while the shutter is open will cause blur in the photograph. If your subject is moving, that’s unavoidable and you will get blur. This can be artistic, and in any case, there’s little you can do about it. But there’s no reason to allow your camera to move.
Many lenses include image stabilization, but the fast prime lenses that you will need for low light photography get expensive fast. Its far less expensive to use a non-stabilized lens on a tripod than to pay for image stabilization that won’t work well enough anyway. Hand-held photography rarely works well in low light conditions. You can solve this problem by mounting the camera on a tripod or monopod to eliminate shake.
Another trick I learned from astrophotography is to use a remote to fire the camera, even if you’re standing right next to it. Just the force of a person pushing the shutter button moves the camera. You can really improve your low-light photos by not touching the camera at all when you shoot. On my roof deck (where I shoot astrophotography) I can’t even walk around without causing camera shake that affects the image, so be aware of your floor surface as well.
Focus manually using Live Preview
It is very difficult for camera Auto Focus systems to perform well in low light—they hunt a lot and take a long time to confirm focus. It is also difficult for a human to focus manually through the viewfinder in low light, for the same reason: It’s hart to tell when you’re in focus with low light.
There are three simple tricks to focusing in low light: focus manually, shorten the depth-of-field, and use point sources of light to focus on.
Fast aperture settings shorten the depth of field and put most of the picture out of focus excepting the subject. Having a short depth-of-field makes focus more critical but also easier to spot because subjects will go in and out of focus quickly. If you’ve selected your lens’s fastest setting then you’ve also set the shortest depth-of-field.
The other way to make it easy is to use your camera’s Live View image on the LCD. This gives you a light-amplified image that is much larger to work from.
Try to pick point-sources of light such as lights or reflections on or next to your subject to focus on—when they are dots, you are in focus on that dot. When they are larger circles, you are out-of-focus. If your subject is a person, have them hold a tiny LED flashlight for you to focus on, which they can turn off before you shoot.
Shoot RAW format
If you are doing important low light work, use RAW mode. RAW creates very large, uncompressed images. The JPEG compression method used to condense the data that composes a photograph can create some very noticeable effects in low-light situations, such as halos around lights and dark “jaggies”. JPEG was optimized for broad color changes and can over-compress very similar areas as dark areas tend to be. Shooting in RAW format avoids this.
If you can’t or don’t want to use RAW, use the largest and smoothest JPEG compression setting.
Use exposure bracketing
Exposure bracketing refers to taking multiple pictures of the same subject in rapid succession at exposures both above and below the standard exposure you’ve set. Essentially, the camera takes a darker, faster photo below your exposure setting, a photo with your exposure setting, and then a brighter, slower photo above it, all in a single button push or hold (depending on your camera). I recommend using 1 stop below and one stop above for your brackets—more than that seems to be well outside what I’d ever use.
Exposure bracketing does two things: Firstly, your eye sees light differently than the camera, and so you may not have a great idea which exposure setting is going to get you results similar to what you’re eye is seeing. Exposure bracketing takes the guess work out of it and gets a range of exposures, one of which is nearly certain to be what you’re looking for. Secondly, exposure bracketing creates the three exposures necessary to perform High Dynamic Range image manipulation with Adobe Photoshop, which is a complex topic beyond the realm of this article.
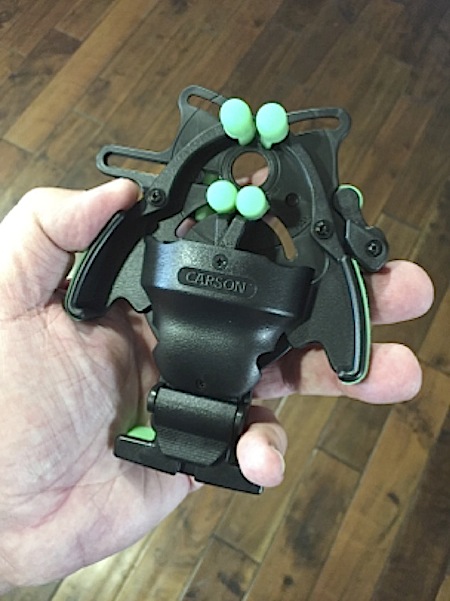
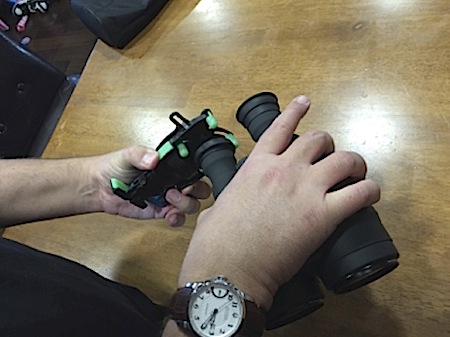
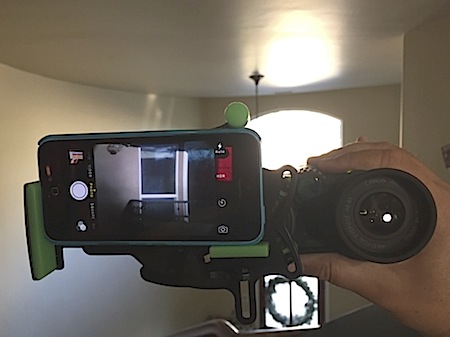
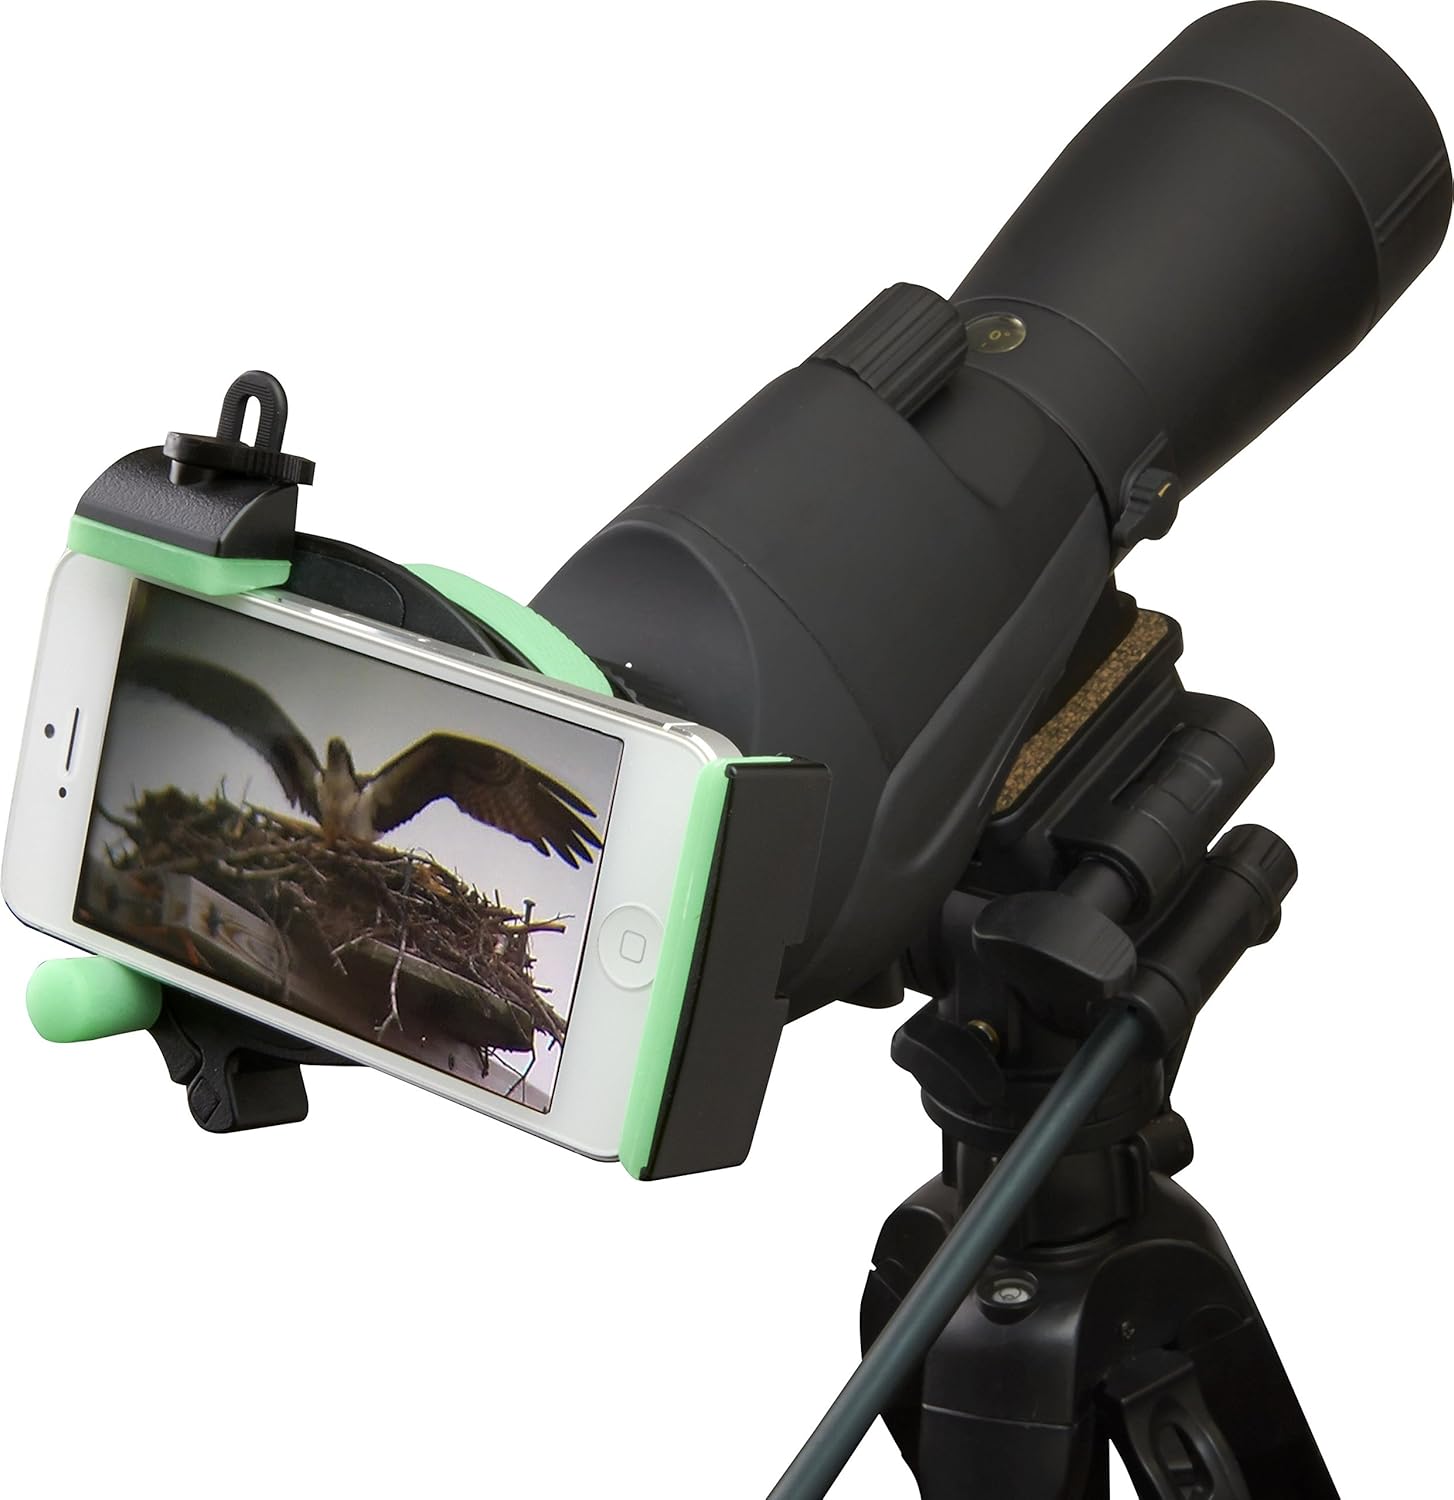 The Carson “HookUpz” universal smartphone adapter is a clever device that adapts any smartphone camera to just about any optical device, such as binoculars, telescopes, microscopes, and spotting scopes. This allows you to add the camera you already have to the optics you already have.


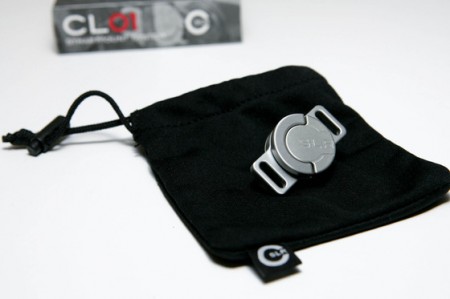
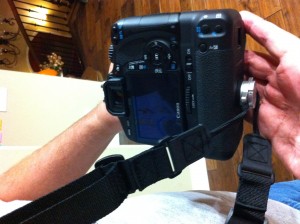 The C-Loop is an ingenious little device—essentially it’s two camera strap loops on a standard mount screw that attaches to the tripod mount on the bottom of your camera. Because the loops swivel round the thumbscrew easily, the strap doesn’t become twisted.
 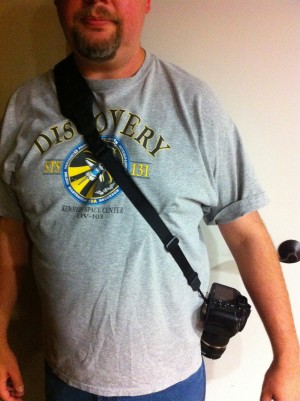 But the best thing about the C-Loop is that it makes it possible to use an adjustable camera strap to carry the camera over the shoulder messenger bag style—pointing down as it should, conveniently out of the way, and not chaffing my neck. For this reason alone I think the C-Loop is a keeper.
